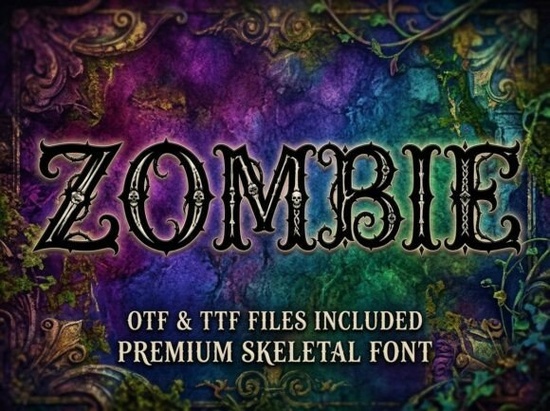
Zombie Font changes how people see your project before they even read the headline. When you start a dark-themed graphic, music promo, or custom apparel line, typography does the heavy lifting. This particular style stands out because it blends horror themes with clean spacing, making it readable even when printed small. Many creators look for exactly this kind of balance between edgy visuals and functional text.
If you run a print-on-demand shop, you know that niche-specific keywords attract loyal buyers. A spooky, skeletal style fits perfectly into the seasonal market. However, you need to ensure the file works correctly for cutting machines or screen printing. Checking the technical specs ensures that the curves render cleanly on vinyl transfers. You can find the full version details at /zombie-font-display-fonts if you are looking for the complete bundle.
When Does This Style Fit Your Project?
Skeleton and macabre aesthetics work best when paired with rich backgrounds. Solid black works, but adding noise or texture adds depth. This font handles layered effects well. Because the letterforms are wide with hollow centers, watercolor smoke or gradient overlays do not obscure the letters completely. We tested this by placing text over dark grunge paper textures, and the edges remained sharp. It functions as an extraordinary creative centerpiece for heavy metal music album sleeves, dark fantasy novel covers, spooky Halloween event posters, and horror video game UI headings. For those who prefer a slightly different edge, you might also explore /lazzleto-font-display-fonts for a grittier alternative.
Tips for Better Legibility
High-contrast fonts rely on the environment around them. If your background is busy, increase the white space between characters. Kerning becomes important here. Tight spacing makes the hollow shapes bleed together, while loose spacing helps the eye connect the dots. Below is a quick list of common setups:
- Dark backgrounds: Use white or neon outlines to pop against the void.
- Light backgrounds: Stick to solid black fills to maintain the silhouette feel.
- Layered images: Avoid busy photos behind the text; choose abstract shapes instead.
For those working on streetwear brands or logos, contrast is even more critical. You want the mark to survive on a label tag. This style offers plenty of visual weight without feeling clumsy. It reads clear even from a distance on a billboard or a t-shirt back.
Alternatives for Different Moods
Not every dark project requires the same level of aggression. Sometimes you need elegance mixed with fear. A softer gothic serif can handle wedding invitations for ghost tours or refined editorial spreads. You can browse through /varsity-graduate-font-display-fonts to see how classic strokes can modernize old-school vibes. For cleaner geometric horror styles, checking /safari-font-display-fonts might give you new angles on the theme. These options allow you to broaden your portfolio without losing the thematic connection.
When selecting a typeface for commercial work, licensing matters. Always verify if your personal license allows reselling designs created with the font. Some platforms offer extended commercial rights that protect small business owners. Most premium display fonts come with clear instructions on what counts as merchandise versus digital download usage. Make sure you read the terms before launching your store.
Using Fonts in Tattoo Designs
Custom tattoo parlor signage often relies on strong, memorable text. This skeleton aesthetic translates well to ink because thick lines hold up better than thin script as skin ages. Artists often request specific layouts that fit around body contours. The fluid nature of the swashes allows for curved placements along forearms or ribs. Reviewing examples on /darcy-font-display-fonts shows how structured serifs can pair with organic shapes for a balanced composition.
To ensure the design lasts, test the font scaling. Zooming out to thumbnail size helps you judge if the spacing breaks. Often, a 24-point size minimum is safest for body text, while headlines can go smaller depending on the medium. Remember that thinner strokes may disappear during the tattoo healing process, so opting for bolder weights is usually a smarter choice.
Practical Checklist for Launch
- Verify Licensing: Confirm you have the right to sell items featuring this design.
- Test Print Resolution: Export artwork at 300 DPI for physical products.
- Color Proofing: Check how the font looks on white, black, and colored shirts.
- Vector Check: Ensure all outlines are converted for cut files.
- Competitor Research: Search Etsy or Redbubble for similar items to gauge demand.
Design is about solving problems visually. Choosing the right character helps you communicate the mood instantly without needing a paragraph of explanation. Whether you are crafting a Halloween banner or branding a local business, attention to detail separates amateurs from professionals. Keep your kerning tight, your contrast high, and your intentions clear. Happy designing.
Try It Free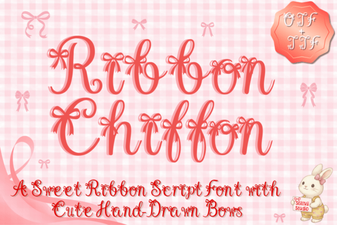 Ribbon Chiffon Font for Elegant Web & Brand Design
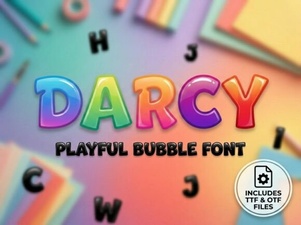 Unlock Creativity with Darcy Font Projects
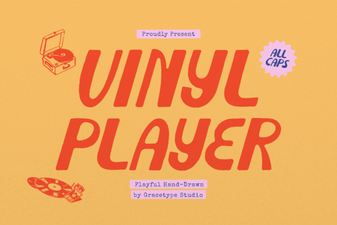 Font Ideas for Vinyl Player Diy Projects
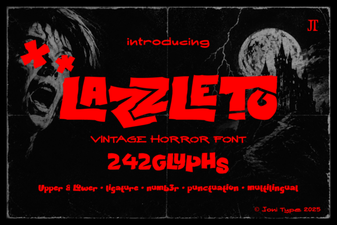 Explore Lazzleto Font: Creative Projects & Web Usability
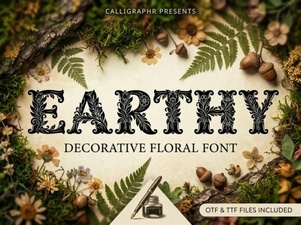 Earthy Fonts for Natural Web & Print Design
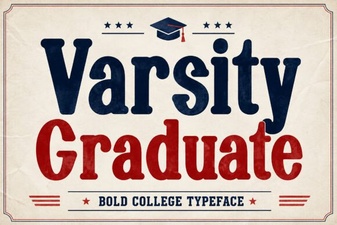 Varsity Graduate Font Design Guide & Ideas